Sh*t my brain says and forgets about

Category: Uncategorized Page 6 of 30

Flash Talk: Working Remote Saved my Life

Every year at Automattic’s Grand Meetup we’re required to give a flash talk of up to four minutes on any topic. This past year I gave mine on a subject related to my post “How Working Remote (Probably) Saved My Life“. I’m actually developing a much longer talk to dive deeper into what’s been involved with my successes and failures. Until then, here’s my flash talk for your enjoyment.

[wpvideo M5HpGRy1]

You’re Doing AES Encryption Wrong

Well, it’s possible you’re doing it properly … but likely not. At CocoaConf Chicago Rob Napier gave a presentation on iOS security and highlighted his cross-platform AES encrypt/decrypt library, RNCryptor. You’ll find implementations for Swift, Objective-C, Java, PHP, C, JavaScript, Haskell, Go, and many more.

Do you know what password stretching, CBC, PBKDF2, and IVs are? If you’ve said no to any of these, you should probably look at RNCryptor.

Check it out!

Featured image courtesy of Flickr user cyberhades https://www.flickr.com/photos/cyberhades/20711405390

One Important Reason I Work From Home

Open windows. ☀️🎐🎏

A photo of my open office window with a sunny yard

Choosing Between Google, Amazon, & iCloud Photos

PhotoOptions

I recently went down the rabbit hole of figuring out if I am using the right solution for offsite storage of my photo library. I’ve been using iCloud Photos for over a year and am not totally happy with the solution. I decided to try out both Amazon Prime Photos and Google Photos.

My home Internet connection has a 5Mb/s upload speed which feels pathetically slow. I wanted to test each solution with a good chunk of my photo library uploaded which made this a time-consuming experience. Here’s what I came up with after about two weeks of futzing.

My Scenario & Options

  • Using macOS & iOS primarily. Support for Android would be nice but isn’t 100% required.
  • 20k photos & videos
  • 120GB of disk space
  • Sources of images:
    • Canon Digital Rebel (including CRW RAW)
    • Canon 40D DSLR (including CR2 RAW)
    • iPhone 1st gen through iPhone 7 Plus
    • iPod nano videos
    • Other shitty digital cameras over the years
    • Handful of scanned photos & negatives

iCloud Photos

This solution sort of just works for me. I can take pictures on my phone and they’re automatically backed up into iCloud when I’m back onto a WiFi network. My iMac at home downloads all originals so I have a copy of every photo and video on disk without an Internet connection. iCloud sync is built into the Photos Mac app and into iOS.

The downside is every time I take an HD video or a ton of photos it swamps my WiFi connection. During the summer we’re at our camper/cottage and have a very slow 2Mbps down/1Mbps up connection. I have to frequently shut off WiFi on my phone so our connection is usable. There is no way to be explicit about when sync happens.

iCloud Photos can also intelligently cache items on your devices with less storage than your library size. While this seems magical it also means it uses WiFi or cellular data when you want to view a photo or video that isn’t cached on the device yet. Spending an evening reminiscing with friends going through images and videos from years back can easily chew through gigabytes of cellular data. There is also no way to mark an album or set of items as more important so they’re always cached.

Faces also do not sync across iCloud. Every machine/device that is connected has to process faces independently – or so it seems. If I take time to train/teach/curate faces on my iMac they don’t show up on my laptop or iPhone.

Storage is pretty cheap – 200GB is $2.99/month. I’m getting pretty close to that limit which means my only option is to move to 1TB at $9.99/month. When that limit is breached I’d probably end up using iCloud for more file storage (instead of DropBox) since I’ll be paying for it.

Amazon Prime Photos

I have Amazon Prime for our house which means I get their Prime Photos option included. This service provides for unlimited image storage and 5GB of video storage. You can upgrade to unlimited storage of any files for $60/year.

Amazon has a sync tool that you can drag your Apple Photos library file onto and it’ll sync all of your master images. The uploader gives you options for the number of concurrent uploads as well as how much bandwidth each upload can take. If you leave it with the default settings you’ll most likely swamp your connection if you’re at 5Mbps or less so some tweaking is required. Sync can be automatic as well but I don’t have a ton of confidence that it’ll be able to sync changes “magically”.

Uploading took forever and I never let it finish as I wanted to try out the service before investing in a week of uploading. The web interface has face detection, subject detection (find me photos with dogs, etc), and places if you recorded GPS coordinates in the metadata. Randomly some of my RAW images shot with either Canon camera would be mirrored for no real reason. This was a hard stop for me.

Google Photos

Google Photos gives you unlimited photo and video storage for free if you choose their compressed option. With this option they’ll shrink the items down without any real visible difference. You can also buy more storage if you want to store the originals without compression.

The uploader tool seems to understand how an Apple Photos library is structured and handled initial sync really well except for my RAW images. All of the raw images I shot with my Canon Digital Rebel from roughly 2004 – 2008 couldn’t be imported. I should take the time to convert to Adobe Digital Negative format as this is better supported by software since it’s not hardware-specific.

Google’s photo interface is a bit weird especially if you’re not familiar with Android and the material design paradigms. After a while I did get used to it and preferred it over Amazon. I ended up uploading my entire library and purchased 100GB of storage for $1.99. That and the extra storage I earned was just enough to store all of my originals which means iCloud has 20GB or more of bloat.

I ended up not going with Google Photos because of the failed import of all of my older RAW images. Every time I restarted my computer the sync tool would try to re-upload all 2,500 failed images taking time and bandwidth up. If I end up converting those old images into DNG format I may try again.

The Comparison

Storage

  • iCloud Photos – 5GB free, 50GB $1/month, 200GB $3/month, 1TB $10/month, 2TB $20/month.
  • Amazon Prime Photos – Unlimited Photo Storage (included with Prime $99/year), 5GB free for videos & everything else, unlimited everything $60/year (plus annual Prime membership).
  • Google Photos – Unlimited Photo & Video Storage (if you’re okay with compression/reduction in quality), original quality uses Drive storage plans: 15GB free, 100GB $2/month, 1TB $10/month, 2TB $20/month.

Winner? Depends. If you have Amazon Prime already their $60/year unlimited beats them all. If you’re okay with compressed images & videos, Google is the winner. If you want original images & videos stored then iCloud has the best price breaks under 1TB.

Sync

  • iCloud Photos – Relies upon your library being in Apple Photos or iPhoto and on a Mac or solely stored on an iOS 9+ device. Sync is automatic on WiFi on iOS, automatic all the time on any Internet connection on macOS. All metadata except detected faces is synced. Client is integrated with the operating system – nothing else to install. Sync includes new photos, changed metadata, edited photos, and deletion. Devices can also choose to not sync all images and only download on demand.
  • Amazon Prime Photos – Amazon has an app for syncing your Drive folders and also functionality for uploading items without syncing. If you upload your Apple Photos library it knows how to pick out the originals only. Further changes to your library aren’t synced automatically so I’m not sure how well deduping will work later on. Amazon Prime Photos does not then keep your photo library in “sync”.
  • Google Photos – Google has an app for syncing your Drive folders and a Desktop Uploader app. The uploader app knows how to access an Apple Photos library to upload originals and it’ll keep track of changes so Google Photos gets all new items and possibly edited items. It will not remove deleted photos.

Winner? iCloud Photos. Being able to keep a library synced on multiple devices and changes pushed across all of them makes it the clear choice on my end. If you want to make Amazon or Google the “system of record” for your images then real synchronization isn’t as important.

Bells & Whistles

  • iCloud Photos: macOS Photos app, iOS Photos app, and iCloud.com Photos browser. Apps have Face detection, geolocation, shared photo streams, automatically generated albums like “best of last two weeks”, etc. Supports a ton of RAW camera image types going back 13+ years of models.
  • Amazon Prime Photos: iOS & Android apps, Amazon.com Photos browser. Face detection and tagging server-side, geolocation, family albums. RAW image support is advertised to be fairly limited to newer models but does support older cameras albeit buggy.
  • Google Photos: iOS & Android apps, Google.com Photos browser. Face detection, tagging, geolocation, and automatically generated albums are all server-side. Supports a much more limited RAW image format range & uploader app does not gracefully handle failed image uploads.

Winner? Google Photos. The discovery mechanism for finding memories is the best experience by far. Their photos assistant will suggest fun animations, photo treatments, album groupings, and mosaics. iCloud Photos feels like it’s emphasis is on flawless sync rather than server-side experience consistency with the discovery features like faces and locations.

Verdict? Sticking with iCloud Photos

For now I’m sticking with iCloud Photos. I didn’t want to lose any fidelity in my library and I wanted a sync solution that just worked that included deletes and edits. It’s not the cheapest solution after 200GB or the most flexible with the software options for syncing and bandwidth throttling. Amazon’s flakey RAW image support & Google’s graceless unsupported RAW images in their uploader stopped me from picking either of those options.

Podcast Interview – Roundabout: Creative Chaos

My friends Tammy Coron and Tim Mitra invited me onto their podcast, Roundabout: Creative Chaos, to talk about my work, life, and Star Trek. Check it out!

http://roundaboutfm.com/episode-80-aaron-douglas/

Also hosted on: Stitcher | iTunes

Installing Icecast 2 on DreamHost VPS

Weather Underground Radio Streams

Weather Underground provided a free service to host all of these streams so you could listen into important weather bulletins over the Internet. Weather Underground was purchased by the Weather.com parent company The Weather Company in 2012 and then IBM purchased The Weather Company in 2016. Weather Underground moved all of their services over to Amazon Web Services and canned a few legacy products including the NOAA Weather Radio streams.

For years I’ve been streaming our local NOAA Weather Radio station, KEC60, over the Internet to Weather Underground. I was extremely disappointed when the weather radio service was cut off with no notice to the listeners or the people graciously providing the audio source stream to share. Uploading the audio stream from my home doesn’t use a ton of bandwidth but letting 50-100 people listen during peak times wouldn’t be practical. I have a web server running in DreamHost’s VPS cloud so why not use that and host my own streams?

DreamHost VPS

DreamHost VPS (virtual private server) is an inexpensive high-performance web hosting solution that lets you dial up and down the resources you need to run your sites. I moved over to their VPS service after having hosted a Mac mini in a local data center for years. I couldn’t beat the cost difference and DreamHost VPS is managed meaning they install security updates and mitigate any attacks on the server.

In the recent past DreamHost has removed one feature I specifically moved over to them for: having root access on your server instance. The rationale behind that change is their team needs the ability to maintain the server, install patches, inspect traffic, and do whatever other voodoo is necessary that falls under a “managed” server. The upside is I don’t have to worry about much with the server. The downside is I can’t install software on the server for all users using Aptitude, the Ubuntu system software package manager.

I need to install the streaming audio/video server Icecast 2 to be able to host my own weather radio stream for Milwaukee. Not being able to use Aptitude on my VPS instance makes this more difficult, but not impossible. The process isn’t straightforward and can be very daunting if you’ve never compiled software before on a Linux machine via the command line. I’ve documented my experience here in case you’re interested in doing something similar.

Installation

You don’t have root access on DreamHost VPS so you can’t install Icecast using apt-get. There are ways to download the apt-get packages and manually install but that has its own drawbacks and breakages. I opted to download the source code for Icecast, compile it, and install in the user directory of the site I’m hosting the stream on. By installing in the user directory I require no system-level permissions whatsoever to run Icecast.

The basic steps are:

  1. Download the source code for Icecast and a few related dependencies (libxslt, libogg, and libvorbis).
  2. Configure, compile, and install the three dependencies.
  3. Configure, compile and install Icecast.
  4. Set up the Icecast configuration.
  5. Launch Icecast.
  6. Configure Icecast to launch on startup.

Preconditions

I’m making the assumption you have a basic understanding of Linux command line operations, SSH, and how to use DreamHost’s control panel. You’ll need the following things completed before starting the process I’ve detailed:

  • Purchase a DreamHost VPS instance and have it running. (sometimes you need to be explicit with a tutorial 😝)
  • Create a shell user for your Icecast install. I suggest a separate account with DreamHost’s “Enhanced Security” turned on. This is just in case Icecast introduces any security vulnerabilities to your server and limits the access the process has to your system.
  • My VPS is using Ubuntu 12.04.5 LTS at the time of this post. At one time I did have root access on my machine and may have installed other dependencies that your instance may not have. Feel free to comment on this post if you need help installing those as well.
  • The tutorial starts with the assumption you’re logged into your account via SSH and sitting at the ~/ (home) folder location.
  • I use Bash for my shell. Other shells like Zsh should be fine but you’ll need to adjust where you edit your path.
  • The source file URLs may change and will probably be outdated shortly after I write this post. I suggest you visit the project home pages for the most recent versions when doing this yourself. You’ll also want to occasionally update Icecast as time passes to make sure you patch any security issues. This is the downfall of not being able to use Aptitude or a similar package manager.

Please note: DreamHost currently has “unlimited” bandwidth for VPS customers. This could change in the future and understand that streaming audio and video could consume a ton of bandwidth.

Download Sources

  1. Create a temporary folder:
    mkdir tmp
    cd tmp
  2. Download the source files for Icecast and the dependencies.
    wget http://downloads.xiph.org/releases/icecast/icecast-2.4.3.tar.gz
    wget https://git.gnome.org/browse/libxslt/snapshot/libxslt-1.1.29.zip
    wget http://downloads.xiph.org/releases/ogg/libogg-1.3.2.zip
    wget http://downloads.xiph.org/releases/vorbis/libvorbis-1.3.5.zip
  3. Unpack each of those downloads.
    tar xvfz *.tar.gz
    unzip *.zip

Compile All the Things

First create the usr (pronounced user) folder and add it to your path.

cd ~/
mkdir -p usr/bin
mkdir -p usr/var/log/icecast
echo 'PATH=$PATH:~/usr/bin' >> ~/.bash_profile
. ~/.bash_profile

The last command re-executes the login script so your path is updated right away.

In the following commands replace “/home/username” with the actual path of the folder you want to install everything into. In most cases you’ll just replace username with the username of the account you created.

cd ~/tmp/libxslt-1.1.29/
./autogen.sh --prefix=/home/username/usr
make install

cd ../libogg-1.3.2/
./configure --prefix=/home/username/usr
make install

cd ../libvorbis-1.3.5/
./configure --prefix=/home/username/usr
make install

cd ../icecast-2.4.3/
./configure --prefix=/home/username/usr
make install

The Autogen & Configure scripts will scan your system for dependencies and set up the configuration file that Make uses to do the actual compilation. Configure will bark if your system is missing anything important that you’ll need to additionally compile.

Configure Icecast

If everything went well you should have a fresh new Icecast installed as ~/usr/bin/icecast and a default configuration file at ~/usr/etc/icecast.xml.

I’m not going to go into too much depth on how to configure Icecast. There is a good amount of documentation on the Icecast website detailing how to get the service up and running.

At a minimum you want to replace all of the default passwords in the configuration file with something other than “hackme”.

Launch Icecast

Go ahead and launch Icecast.

cd ~/
icecast -c usr/etc/icecast.xml

This launches Icecast in interactive mode. If you exit your SSH session, Icecast shuts down. Verify that you can connect to Icecast by visiting:

http://yourserver.dreamhostps.com:8000

Change the hostname to match yours and the port number if you changed the default one in the configuration file. If everything went right you should see an Icecast status page. If you get any errors double check you launched the service properly and that you specified the server hostname correctly.

When you’re done, hit Control+C to kill Icecast. When you’re ready to keep Icecast running long-term, re-launch with -b at the end to background the process:

icecast -c usr/etc/icecast.xml -b

Launch on Startup

The last step to setting up Icecast on a DreamHost VPS is to configure it to launch when your server is rebooted. The easiest option is to use the Cron Jobs control panel provided by DreamHost.

  1. Open the Cron Jobs page in your DreamHost control panel.
  2. Click the Add New Cron Job button.
  3. Select the user you created and installed Icecast into.
  4. Enter a Title that is helpful like Icecast.
  5. Enter an e-mail address if you want log files sent to you. I left this blank.
  6. Enter the following in Command to Run (updating the path with your actual install path for Icecast):
    /home/username/usr/bin/icecast -c /home/username/usr/etc/icecast.xml -b

    The full paths are required so Cron knows exactly where Icecast is. The -b switch puts Icecast into the background.

  7. Make sure Use locking is turned on.
  8. Set When to run to Server Reboot.
  9. Click Add.

Questions?

Let me know if you have any questions in the comments on this post! I’ll probably do a follow-up post with the actual setup I’m using for streaming Weather Radio.

Check out the Milwaukee NOAA Weather Radio stream for KEC60 here:

http://milwaukeeweather.audio

Featured image courtesy of cogdog on Flickr.

My Failures are my Distractions

Today is one of those days.

What kind of day is that? It’s one where I feel like I completely failed today despite all my best efforts to control my focus and attention. I look back at my notes and I see I ticked off some things but left some completely untouched and forgot about. I know I’m certainly more critical on myself about these things than most. Feeling like a failure ultimately leads me failing so I try to not even get in this mood or direction.

You know what doesn’t help either? Looking out your office window (an unconscious act of sabotage on my focus) and seeing two fine examples of your scatter-brain.

fullsizerender

There sits a solar light, gifted to me eighteen months ago, with the tag still affixed to it and a rake used to clean up the yard four months ago. Each task wouldn’t take too much time out of my day to complete. There they all sit for me to stare at and punish myself for not doing.

Instead of spending more time derailing myself I decided to go put the rake away and tag that stupid tag off and publish this post. 🙂

Leadership, Awareness, and Fear

Leadership is a state of heightened awareness and fear.

~ Aaron Douglas, sometime this week

I’ve been a team lead for a couple years now at Automattic – a little over a year of that with the larger team (Go Slytherin!!). I’ve made several discoveries of what being a lead (team, project, technical) means. I’ve realized one thing I have to do is to put myself into a higher state of awareness and embrace fears.

Awareness

Leads have to see the business landscape with different eyes. My main goal as a team and project lead is to unblock the pathways for my teammates to succeed. I’m required to involve myself in conversations that are out-of-band from what the team is connected to. These conversations get summarized in my head and become part of discussions with project leads and individual 1:1 meetings. I have to pick out the important things that relate to the team and bring that into conversations to establish insight amongst everyone.

This makes me sound like a guru. I’m not. The process isn’t glamorous nor difficult. It’s a super shallow task at times but it allows my team to focus on the work. Understanding more about our users, the rest of the company, and other big projects will only add depth to the things they are working on. Letting them go deep and work well on the things they’re doing is key to succeeding.

Fear

Fear can be healthy. Fear keeps us from doing bad things. Fear can also paralyze us so it’s important to understand how to interpret our fears. Team leads/managers have to learn to sense their own fears and translate those into actionable items or at least a watchlist. Typical fears for me include (and oddly most of them come in the form of questions):

  • Did I forget to do something I said I would do?
  • Are we on track with the project I’m leading?
  • I hope our users are happy with our work.
  • Is everyone happy with me and the work they do?
  • What am I missing?
  • Are our priorities right?
  • Where are these voices coming from? (kidding, maybe)

I’m not saying leads are the only one with fears. We all have things like this we keep in our minds. Every one of these fears (except maybe the last one) can have some actionable item to keep the fear in check. Fear is a motivator. Use your fear to keep your team humming along.

What I’m not suggesting is using fear to intimidate your team into motivating them to work faster, harder, longer hours. You need to show your team empathy and compassion to turn their fears into motivation to do a great job. Make sure they know you have their backs and that a level of trust exists. When you get status updates make sure to restate that progress back at some point in some fashion so they know they heard you. You wouldn’t be a lead without them and they wouldn’t have a direction and focus without you. They have their own fears – don’t make one of them you.

Focus & The Non-Permanence of Pencils

fullsizerender
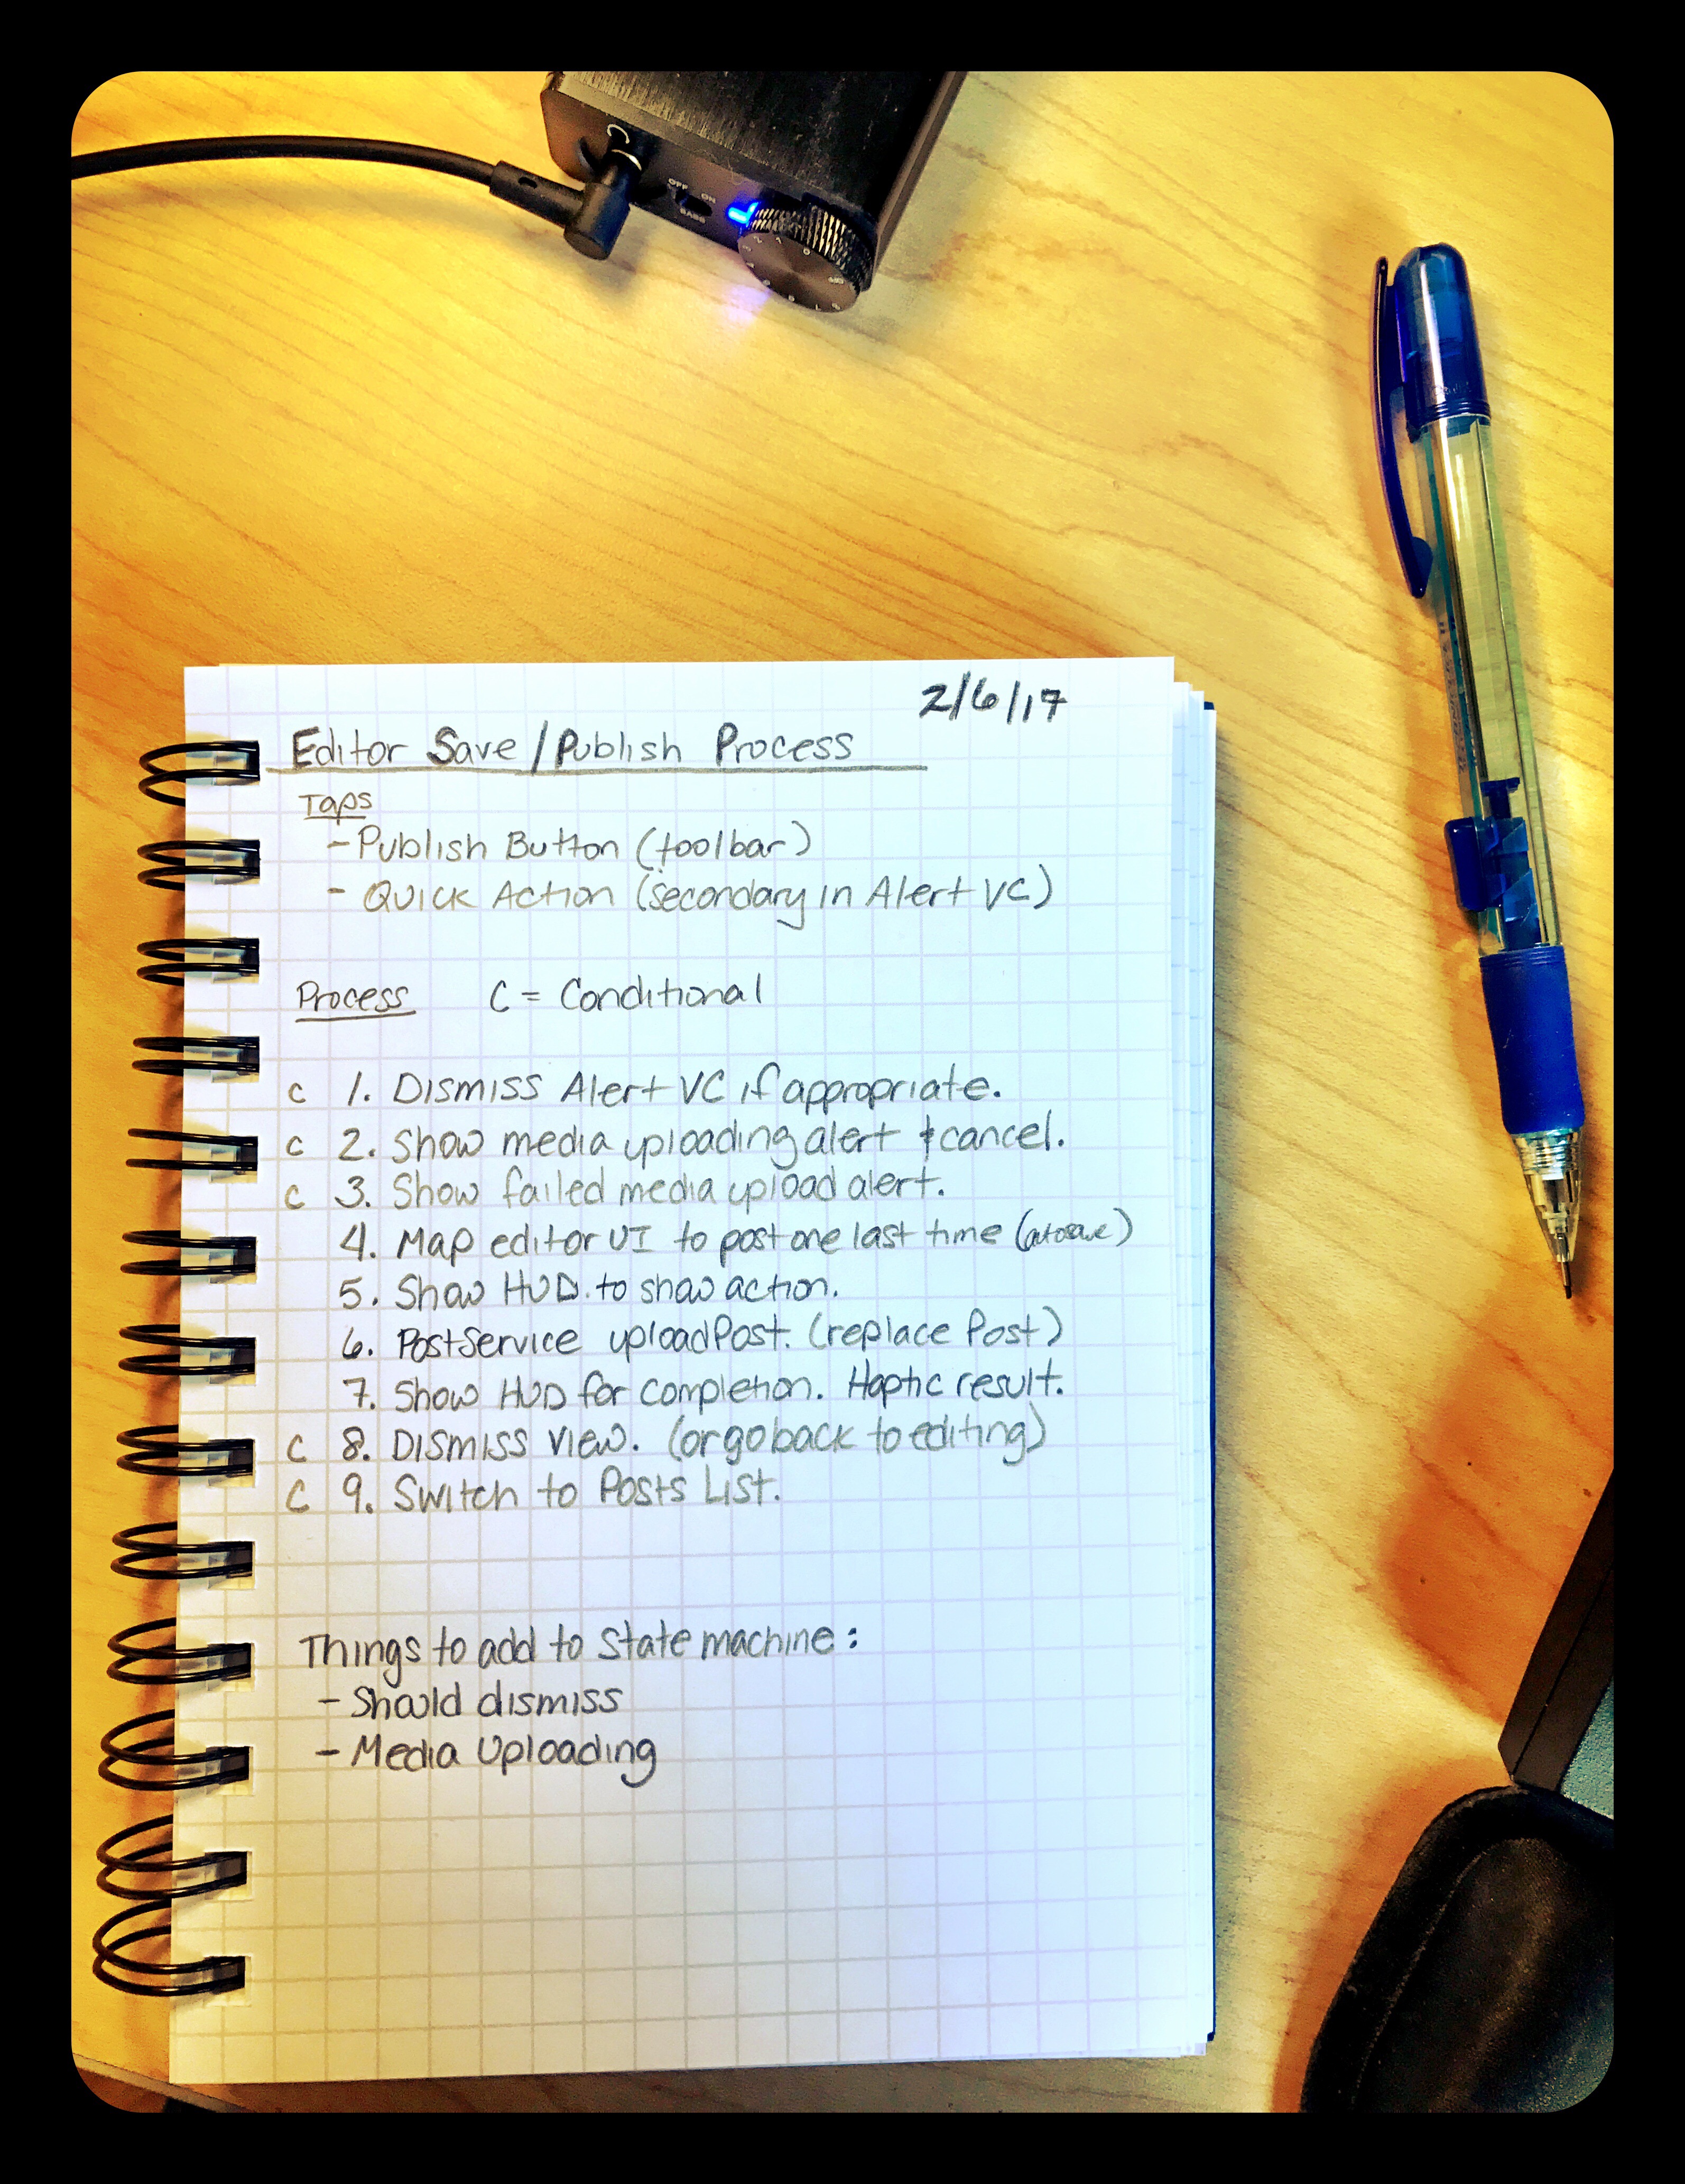
I’ve been trying to brainstorm ideas on paper lately before committing to an approach on how to solve a problem. For some reason I wasn’t getting a ton of satisfaction switching back to pen & paper – it wasn’t helping my focus. Then I realized something from my days in school. I used to prefer pencil over pen because of the feel of the graphite on the paper and the non-permanence it implies.

The biggest obstacle I have to starting something is my brain trying to understand an entire solution before I’ve started it. Brainstorming like this should be helping me with incrementally breaking down a problem into pieces and finding out what I don’t know. For some reason the permanence of ink makes me feel like I need to put more thought into things before writing them down. That defeats the point of brainstorming!

So for me, I’m back to a pencil.

Experience Life as a Beginner

I’m nearly four years into my challenge of hacking my brain to be successful at working remote with Attention Deficit Disorder. I’ve struggled with trying to understand my behaviors and challenge myself to change incrementely over time. There’s one repeated concept that always comes up in my practice – my past experiences both help and hinder my progress. The key is being able to experience life as a beginner.

Beginners have a great platform to learn knew things. First off they realize they have a set of things they need and want to learn. There is motivation to better yourself and usually a fairly well defined place to gain the knowledge from. Beginners have (or will quickly) admit they don’t have all the answers. Those of us with experience trying to learn new things may think we understand things well enough. We’re not open to seeing things as a whole.

So my challenge to myself is to start seeing things as a beginner. Challenging assumptions I have will make me more open to learn new things and become more effective at working and living. 

Here’s to starting off with a less full cup! 🙂

Page 6 of 30

Powered by WordPress & Theme by Anders Norén